


 In our last publication we had talked about why it’s important to determine which machines in your plant are critical and how to access the criticality of each machine.
To recap there are 3 levels of criticality in machines:
(A) High Impact; Highly Critical Equipment
If the machine breaks down the process stops for more than 8 hours and it’s very expensive to repair and takes a long time to acquire the parts needed for repairs.
(B) Medium Impact; Moderately Critical Equipment
If the machine breaks down, it only stops the process for less than half a shift. Repair costs are average.
(C) Low Impact; Low Criticality Machines
If the machine breaks down it hardly affects the process. Repairs or replacement costs are minimal.
After you have determined the criticality of all of your machines in the plant, you’ll want to evaluate each of your rotating assets with an MDS.
What is an MDS?
MDS stands for Machine Data Sheet. This sheet lists all of the equipment and each piece’s location. An MDS helps you organize and record all of the components of each machine as well as the technical specs. It’s important to know the RPM, bearings, type of motor and other characteristics of each machine in your plant. Download the MDS here.
What is the importance of Creating Routes?
Once you have your MDS and have marked the criticality of the machine, you can start making a route. A route is the order that machine vibration data is collected in. By implementing route-based vibration data collection and by prioritizing the right schedule based on machine criticality list, you can avoid much of the damage common machine faults can cause before they happen. Learn more about the benefits of route-based vibration data collection, how to to create a map of the plant and collect information efficiently with this video.
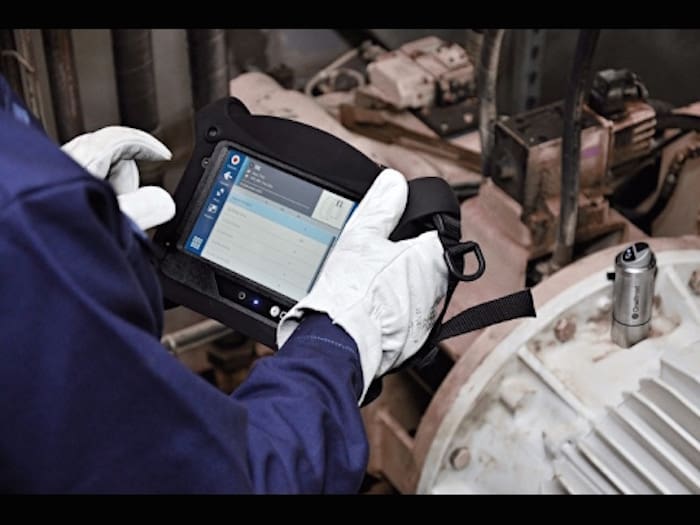
After evaluating the machinery and building a route, it’s time to collect data with the vibration data collector of your choosing. When selecting a vibration data collector, you will want to consider the experience level of your personnel and select the tool that will make their job efficient and easily allow them to collect usable data. In order to collect usable vibration data, there are two critical things one must do:
- Know the actual RPM of your machine.
- Place the vibration sensor as close to the bearing locations as possible.
How do I calculate the actual RPM of my machine?
All fault frequencies are related to the running speed of the machine, so the more accurate the running speed is recorded, the easier it is to separate different frequencies and ultimately determine what is wrong with the machine. NEVER assume that the RPM of the machine is that which is labeled on the motor’s nameplate, this is the speed that the machine was manufactured at, but typically not the actual RPM. In order to determine the actual RPM, you will want to use a stroboscope or tachometer on the coupling as the machine is running. As long as the impact fault is within a 5% variance, this is acceptable. Learn how to accurately identify RPM with this video.
Why Should You Strive for Proper Sensor Placement?
It’s very important that you place your vibration sensor (or transducer) as close to the bearing as you possibly can. Depending on the machine, this might sometimes require epoxying some kind of mounting device to the machine, such as a puck. It’s important that you not make it too complicated though, at times it’s hard to get it perfect. When collecting data over and over again on a machine, you will want to focus on repeatability in order to get a good transmission of data. To learn more tips on how to achieve proper sensor placement so you can obtain repeatable results watch the following video.


